6 Steps To The Perfect Bike Wash
When washing your bike, treat it like you would your child.

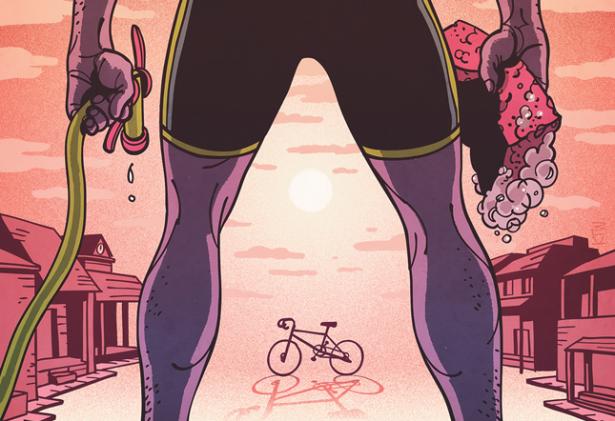 When washing your bike, treat it like you would your child. If she misjudges a spoon of Purity, you swipe her face with a wet wipe; but if you discover her in a crater-sized mudpool in the garden, you put her in a bath and scrub her with soap and shampoo. Similarly, use discretion when it comes to cleaning your bike, say Justin Bradwell and SJ Kotze of Revolution Cycles in Cape Town. If conditions are mild, give it a hosing down. If you’ve just ridden through torrential downpours and have dragged half of the local foliage home in your derailleur, consider the following steps for a thorough wash.
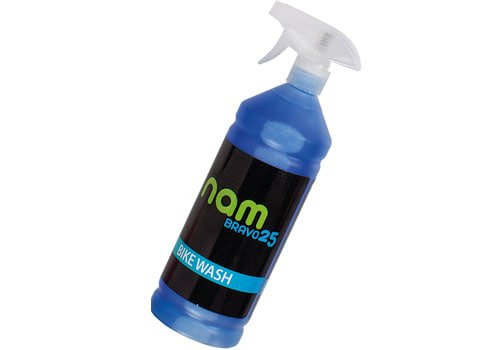
Step 1: Give your bike a general wash
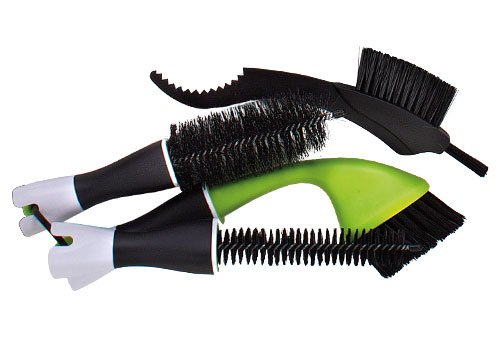
Using a bike-specific product (see below) or a multipurpose household cleaner, give your bike a general wash. Use a soft cloth or softbristle brush (see below), to avoid damaging or scratching the frame. Focus on frame, tyres, rims, spokes, fork, handlebars, saddle and all tough-to-reach spots. Rinse the soap off with water. Tip: Use a toothbrush for the really hard-to-reach places.
Now that you’ve removed the ‘easy-to-clean’ dirt, it’s time to tackle the grime that collects on your derailleur, and if applicable, your suspension.
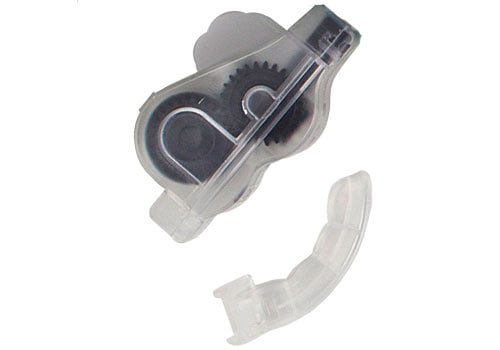
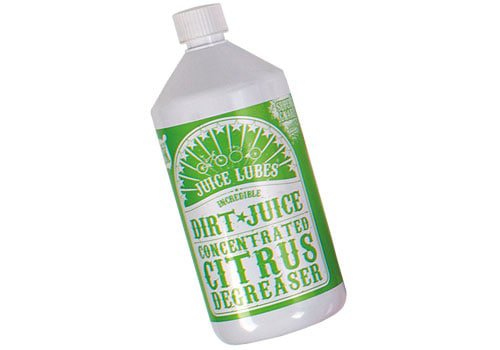
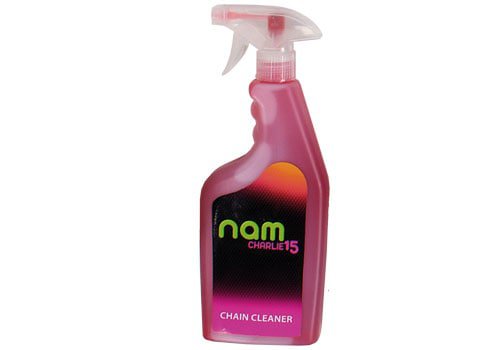
Step 2 Degrease the drive chain
Using a water-based chain degreaser (see below) and a medium-to-hard-bristle brush, clean your drive chain. Water-based is better for the environment says Kotze. With your bike upside down, in a stand or against the wall, apply degreaser directly to the chain, cassette and chain rings, allowing a few minutes for the degreaser to work its magic. Then scrub off the muck. Rinse off excess degreaser with water to prevent it damaging the drive chain. You may need to repeat the process, depending on how clogged up your drivetrain is. Tip: When cleaning, backpedal to rotate the chain while holding the brush firmly in place for a quicker scrubbing action and a more even clean on all three specific areas – chain, cassette and chainrings.
RELATED: 4 Ways You’re Hurting Your Chain
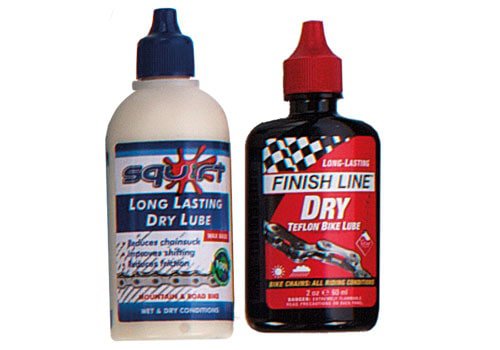
Step 3 Lube your chain
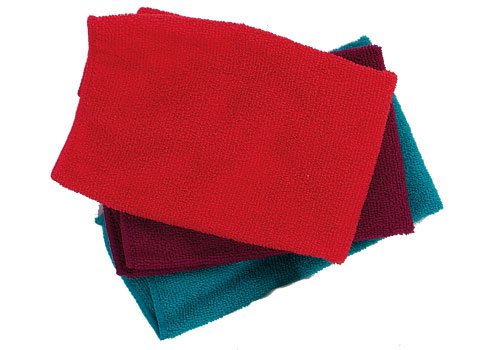
Using a dry cloth, dry your chain before applying lube (see below), or wait till it’s drip-dried. Backpedal slowly and drip the lube of your choice on each chain link. Flick the gear leavers to move the lube through the chain and onto the cog. After a bit, use a cloth to wipe off the excess lube. Tip: Dry lube suits dry, dusty conditions,says Bradwell, and goes on wet but dries afterwards. Wet lube goes on wet and stays wet, and is suited to wet, muddy conditions.
RELATED: Which Lube to Use on Your Bike
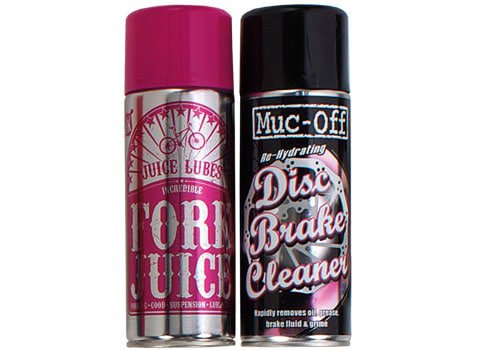
Step 4 Clean your fork and shocks
Your fork should now be relatively clean. With a damp cloth, wipe away any grime that may have collected at the bottom of the stanchions. Spray the fork or shock with fork-specific cleaner (see below). Then pump and compress the fork to get the fork cleaner underneath the dust seals, says Bradwell.
Tip: This is a great time to do a routine check of your seals. If there’s any oil leaking out of them, contact a bike shop to assess whether it’s time for a fork or rear-shock rebuild.
Step 5 Wipe down your disc brakes
Keep your disc brakes clean by wiping them down with disc-brake cleaner (see below). Spray or pour the cleaner onto a cloth, and wipe the disc brakes. Tip: Never spray disc brake cleaner onto the brake pads – only onto the disc.
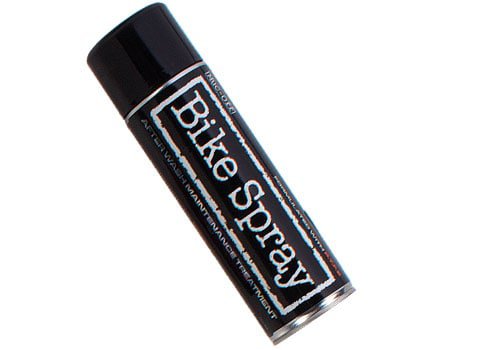
Step 6 The Buff
To give your bike a finish that’s up to showroom standards, use a silicon-based bike spray (see below). Spray it on the bike and buff it until clean and shiny.
Tip: Keeping your bike looking like brand-new adds oomph to your ride and longevity to your bike.
[box]
Handy Tip
If using a high-pressure hose, be very careful not to hold the stream of water too close to your bike. Avoid spraying directly into bearings, suspension linkages and seals. This is because the force of the water getting into the seals will displace the grease that is essential for keeping bearings smooth and efficient.
[/box]
11 Products To Complete The Job
Click on an image for the product description. Prices subject to change.
READ MORE ON: bike advice maintenance