
Sick of Skipping From Worn Cogs? Here’s How to Replace a Cassette
Skipping gears are noisy, irritating and downright dangerous: here's how to replace your cassette at home.
Your cassette is one of the key parts of your bike’s drivetrain, which propels you—the rider—forward. And because of that, your cassette takes a lot of abuse, which means you’ll need to replace your cassette every so often in order to keep your drivetrain running smoothly.
High-mileage riders might replace their cassette after every season, while lower-mileage riders might replace it every few years. It can also depend on how well you take care of your bike, and specifically your chain; a grimy, gritty chain or an old, stretched-out chain can wear down a cassette faster.
One way to tell if you need a new one is by looking at the teeth on the cogs to see if they’re worn down. Detecting early or moderate wear will take a trained eye, but severe wear will be pretty noticeable, especially when compared to the teeth on a new cog. A tooth on a newer cog will be flat on top, while a very worn tooth will be rather pointy.
If you’re experiencing skipping while pedalling, especially with a new chain, then it’s also likely time to replace your cassette.
With the right tools in hand, replacing a cassette is a straightforward and easy task. Below, we cover what you need to get the job done and how to do it.
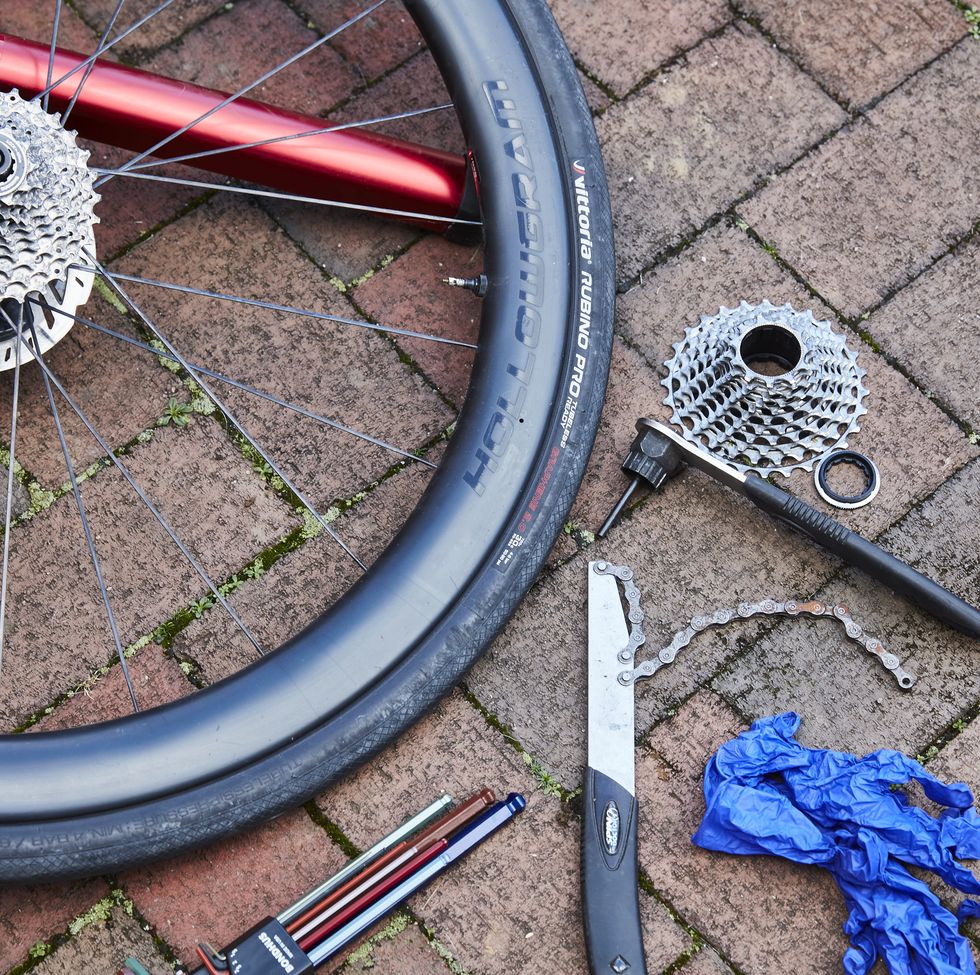
What You’ll Need
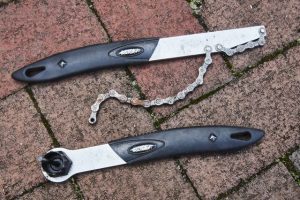
Chain whip tool: Alternatively, you can use cassette pliers.
Lockring tool: These come in several sizes, so make sure to get one that’s compatible. Some are complete with a handle, and some come with a guide pin to help secure it in place as you go to remove it.
Adjustable wrench: If needed, based on lockring tool type.
New cassette: To keep it easy, simply pick up a new version of your current one.
New chain: Chains and cassettes wear down together. You’ll want to run a fresh chain on your new cassette. If you need help installing a new chain, we’ve got you covered, too. Check out our tutorial here.
HOW TO TELL IF YOU NEED A NEW CHAIN
PRO TIP: You could use this as an opportunity to get a different cassette—maybe you’d like a better setup for climbing, with a bigger cog—but it will require some legwork. Before hitting that buy button or walking out of your favourite shop, you need to figure out which alternative cassettes will work with your rear derailleur, so check with the manufacturer’s specifications. And make sure your cassette is from the same manufacturer as that of your derailleur.
How to Replace a Cassette
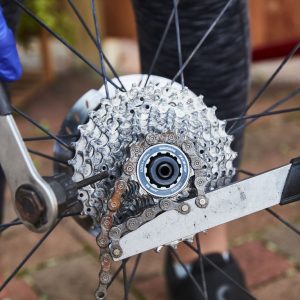
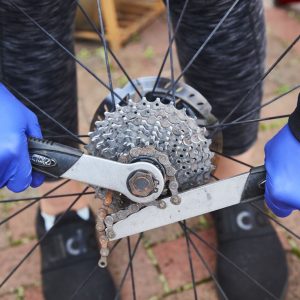
First, remove your rear wheel from the bike. Next, remove the quick release skewer. Attach the chain whip tool (or cassette pliers if you’re using those) to one of the cogs.
Place the lockring tool onto the lockring at the end. If the tool doesn’t have a handle, use a wrench. Using the chain whip tool to hold the cassette in place, turn the lockring tool counterclockwise to unscrew and remove the lockring. Now you can remove the old sprockets.
Grab your new cassette. Note the spline positions on the freehub and install each cog, along with any spacers, so that they align with the corresponding splines and with the inscribed side facing out (showing the tooth count).
Once the new cassette is fully in place, reinstall the lockring using the lockring tool; it’s a good idea here to apply some grease to the threading. Reinstall the skewer, then install your rear wheel onto your bike, and test out the new cassette.
READ MORE ON: bike maintenance cassette chain whip lockring maintenance
