How To Replace Your Bar Tape – The Expert Way.
Replacing your own bar tape is fun, therapeutic and so super simple you might never let anyone else do it again.
Replacing your handle bar tape is one of the most therapeutic maintenance jobs in all of cycling. Once you have the basics sorted, the pleasure you will derive from looking down at your handiwork is childishly disproportionate to how simple a job it actually is. Promise!
Rand for rand, no new part takes a bike from dingy to dashing as noticeably as new handle bar tape. But tape is about more than just looks: A well-thought-out handle bar tape installation takes into account the way your hands sit in the drops so the tape lasts longer and provides the cushion and slip-proof grip you need for long days in the saddle.
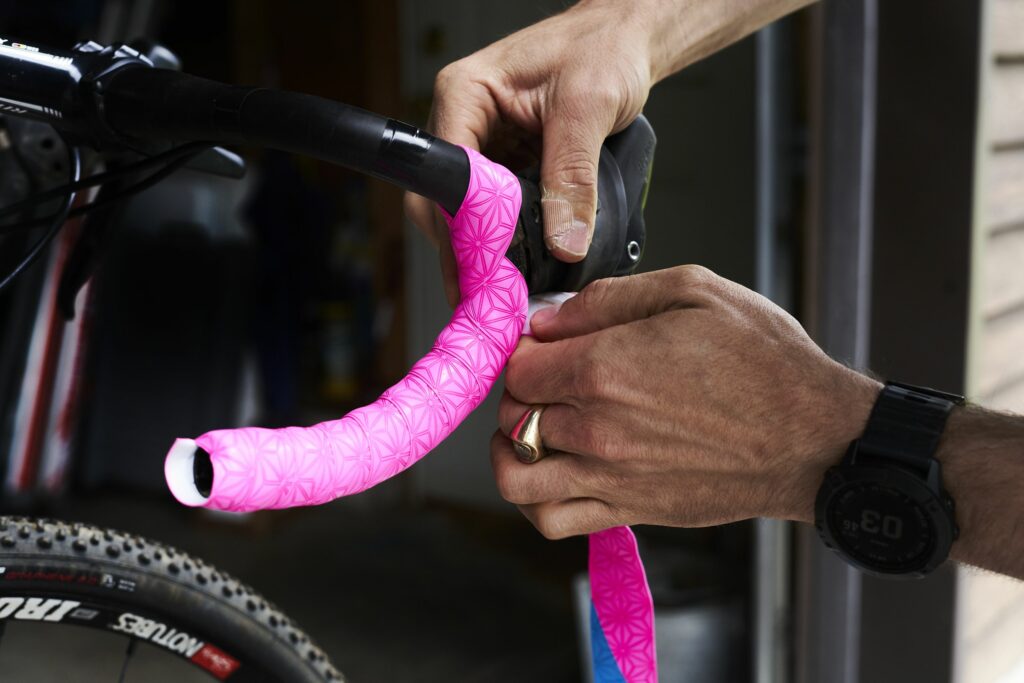
Exactly which direction to wrap your handlebar tape is sometimes a point of contention amongst cyclists and mechanics. Many tend to follow the rule-of-thumb of “wrap toward the bike,” but the best direction for you can depend on your preferred hand placement.
“If your thumbs sit more toward the top of the bar, it means your hands roll more to the outside,” explains bar-wrapping expert Mike Spilker, head mechanic of the former Navigators Insurance Pro Cycling Team. “That means you want to wrap away from you.” (That’s clockwise on the right, counterclockwise on the left, so that the natural roll of your hands goes with the tape instead of pulling it loose.) “If your hands roll more to the inside, wrap toward you,” Spilker says. (Or, counterclockwise on the right, clockwise on the left.)
Take a test spin with your hands on the base of the drops to figure out which direction is right for you. Before starting, you’ll need new bar tape of course, scissors, electrical tape, and ideally a work stand and rubber mallet. Then, follow expert bike mechanic Tori Bortman’s simple steps below.
READ MORE ON: handelbar tape maintenance refresh Skills workshop tips