6 Do’s and Don’ts of Gluing Tubulars
As the mechanic for the women's pro cycling squad Team Colavita, Andrea Smith spends a lot of time gluing tubulars—tyres that consist of an inner tube enclosed in a casing, which is then glued or taped onto the rim.
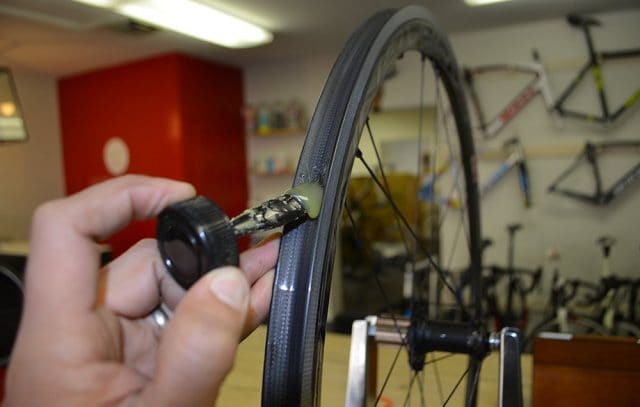 Home mechanics are often reluctant to install the tyres themselves, she says, but these six tips will go a long way toward demystifying the process.
DO
DON’T
• Apply too much glue. Use a thin layer on the rim and base tape of the tyre. Don’t apply it too thickly or let it ball up.
• Store extra tubulars in the garage. They’re sensitive to temperature changes. Choose a storage area that’s cool, dry, and dark.
• Be intimidated! “It’s really a fairly easy step-by-step process—just give yourself time,” Smith says.
READ MORE ON: bike advice maintenance road Skills