The Beginner’s Guide To Setting Up Strava
The cycling social media and training platform can seem intimidating, but it's easy to start getting Strava-obsessed; in fact, it only takes a few seconds.

The cycling social media and training platform can seem intimidating, but it’s easy to start getting Strava-obsessed; in fact, it only takes a few seconds. – By Molly Hurford
If you’re new to cycling, or you’ve held out on posting rides to Strava, it’s time to get started! It’s one of the biggest social media outlets for cyclists, and it’s a ton of fun once your profile is in place and you start snagging KOMs on your next ride. Getting started is a painless process – simply follow the steps below to get going.
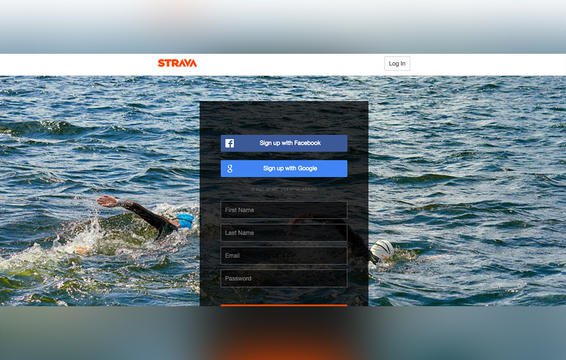
Step 1: Get Logged In
The setup process for Strava is about as simple as setting up any standard social media account. Visit Strava.com on your desktop, and either link to your Facebook or Gmail, or set up a standalone account. You’ll need to verify your information via email, and then let the app walk you through adding friends using your current Facebook connections (but you can opt out of that if you’re not ready to get social). You’ll also want to download the app to your phone for those rides where your cycling computer runs out of battery, or for skimming through your friends’ activities on your lunch break.
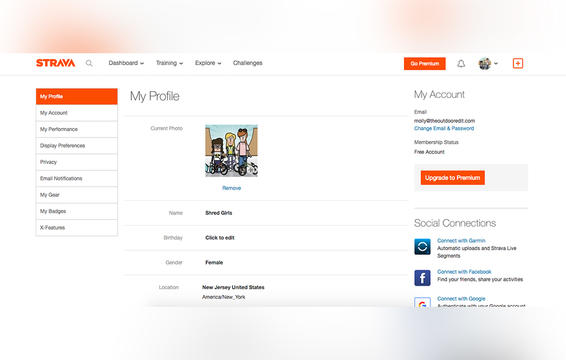
Step 2: Set Up Your Profile
Click on the circle on the top right of the screen and go to Settings; this is where you can set up your profile. Add the bikes that you’re planning to ride as you record data, choose a fun profile picture, and link up your other accounts if you’ve got them. Instagram is a great way to quickly populate your activity uploads, while other apps like Garmin Connect can make uploading rides ultra-easy. Then, start hunting for the friends and co-workers you want to follow by going to the Explore tab at the top of the home screen and searching for individual friends/athletes using the search function. You can also find local riders by checking out the leaderboards on route segments near your house, or checking out the local Clubs.
Stay safe by setting a privacy zone: “One feature many Strava cyclists use is creating privacy zones around where they live or work,” says Andrew Vontz, Communications Lead at Strava. “These zones are not fixed, so anytime you go for a ride it randomly selects a zone to protect around your start and end point. As such, any ride that starts or finishes in this area won’t have the full route mapped and shown online, but will still record all the other relevant data.”
RELATED: The Strava Diaries
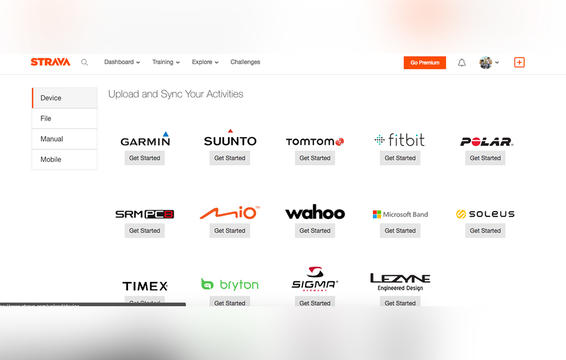
Step 3: Upload Your First Ride
This is where a lot of new users get tripped up, Vontz explains. But once you get uploading the first time, it’s a piece of cake. “Every device that syncs with Strava has its own process,” he says. “The thing is, once you sync your device, it becomes really easy to upload in the future. It’s a small hurdle for a relatively seamless ongoing experience. The best way to navigate this is to check out our Knowledge Based documents in our support channel for your specific device.” Still confused? The Strava support page has instructions for a huge range of devices.
Don’t have a cycling computer? That’s OK; you can also add a manual entry (click the “+” button in the top right corner on the home page).
RELATED: How Strava Has Changed Cycling, Forever!
Step 4: Join a Club and Follow Friends
If you’re not using Strava as a social network, you’re missing out! Sure, it’s a great analytical tool and a good way to track your riding progress and find new routes, but Strava’s about the social life as well. “Are you not engaging with other athletes? What makes Strava fun and motivating is the power of the community,” Vontz explains. “The more you engage with the community, the more likely you are to keep uploading your activities.”
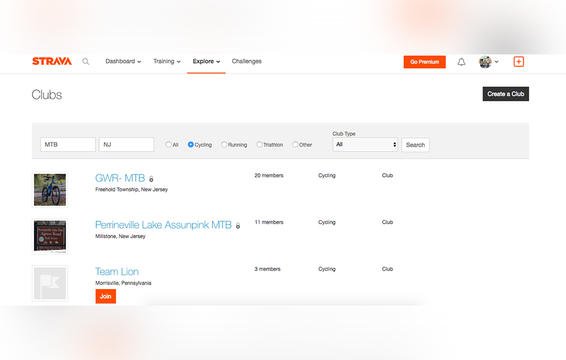
To sneakily get more people to follow you, Strava offers the chance to Tweet or Facebook your ride, letting your other social networks see that you’re on Strava. And joining Clubs will also help. Under Explore, simply tap “Find a club” and choose “cycling.” Then, set to “current location” to just show you ones locally, or if you’re looking for a specific club or brand, just type it in.
RELATED: 4 Add-On Apps That Will Supercharge Your Strava
Step 5: Get Creative (Not Lost)
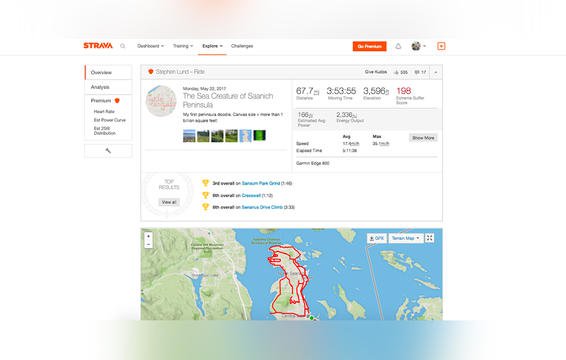
Make your Strava activities unique to gain more followers and really enjoy the platform. Name your rides creatively, consider using your GPS to make some Strava art by designing your route with care (using that “+” button in the right corner, you can use the Route Builder option to prep your map), and make the most of the Instagram sync function. The Route Builder can also make your ride a lot smoother: Strava’s route technology uses a popularity algorithm that will show users where most people ride along similar routes, so you won’t end up on the highway.
RELATED: The 15 Kinds of Cyclists You’ll See on Strava
Step 6: Get Popular
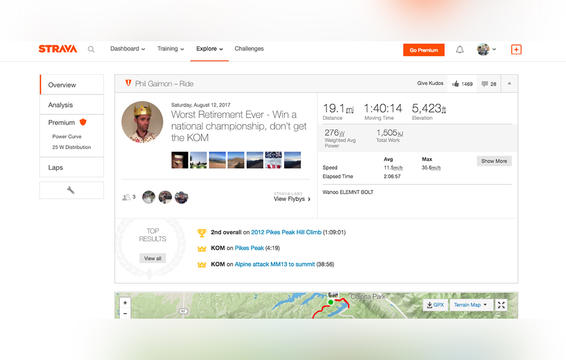
“If you want to have a large following, it takes time to grow, and you have to be active: don’t just make cool posts and expect people to find you,” says Vontz. “You can also join local or global groups and clubs, and do Strava Challenges to add to your following. By joining challenges others can find you on leaderboards. Finally, follow others: you’ll find that they usually follow you back, especially if you give them kudos.”
RELATED: A Cyclist’s Guide to Speaking Strava
Step 7: Don’t Get Addicted
READ MORE ON: MTB road training programmes