How To Change and Fix a Flat Tyre
All the tools, tips, and tricks you need for a quick roadside (or trail) repair.

Changing a bike tyre after getting a flat is a relatively easy fix—as long as you know how to handle it. Whether you ride on smooth pavement, rough gravel, or rocky singletrack trails, it’s bound to happen eventually, so you might as well prepare yourself with both the necessary tools and the bike repair knowledge you need address the problem.
Below, we detail everything you need to know about how to change a bike tyre, including the bike tyre repair tips you need to succeed.
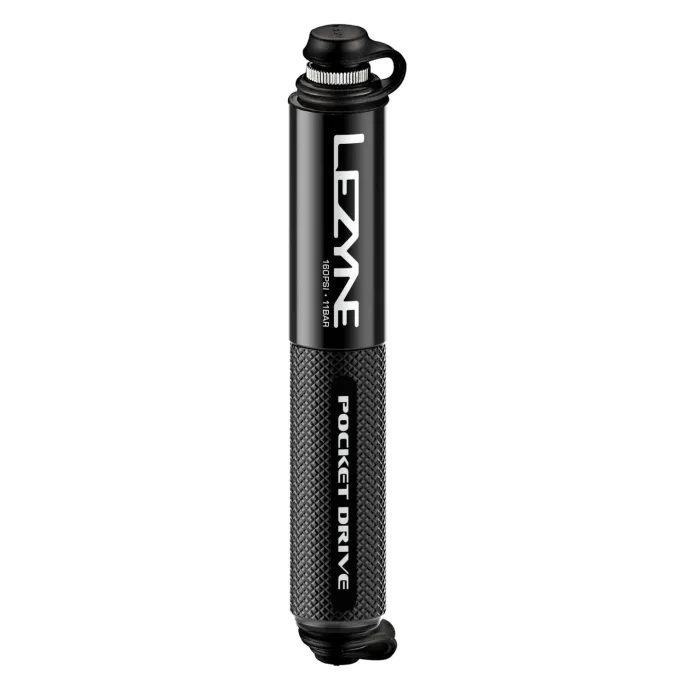
First things first though—for tools, you should always carry tyre levers, a correctly-sized spare tube, and an inflation device, be it a mini pump or CO2 cartridge. You may also want to consider a patch kit or tyre plug, which can come in handy for certain riders. And if you run tubeless tyres, scroll down to skip to the tubeless section. When you’re ready to go, here’s your step-by-step guide.
[WATCH] Fix a Flat Tyre in 2 Minutes
Follow These Steps to Change a Tyre and Fix a Flat
Step 1: Remove the Tyre
Start by removing the wheel. Keep your bike upright, and if it’s a rear-wheel flat, shift your drivetrain into the hardest gear. If your bike has rim brakes, which many bikes still do, you may also need to loosen the brake.
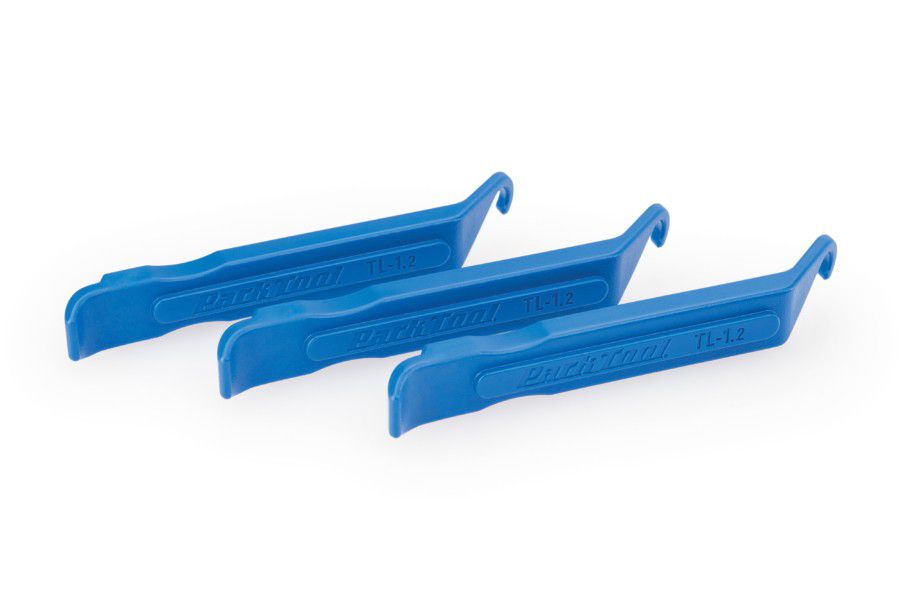
Now you can remove the tyre. Hook the rounded end of one tyre lever under the bead (the outer edge) of the tyre to unseat it. Fix the other end to a spoke to hold the lever in place and keep the unseated tyre from popping back into the rim. Then hook the second lever under the bead next to the first, pushing it around the rim clockwise until one side of the tyre is off. You don’t need to completely remove the tyre.
Step 2: Find the Culprit
Once the tyre is loose, pull out the old tube (if applicable) and look for the source of the flat, which could be a thorn, piece of glass, or some other sharp object. Carefully run your fingers along the inside of your tyre and rim, making sure nothing sharp is left behind; otherwise, you risk getting another flat. Also inspect the outside of the tyre, again looking for any foreign object that might still be stuck in the rubber.
If you’re using tubes and want to do a little detective work, pump some air into the old one to find the leak. Two holes side by side indicate a pinch-flat, where the tube gets pinched between the tyre and rim. A single hole is a sign that your flat was most likely caused by a sharp object. By lining the tube up with the tyre using the valve as a point of reference, you can double check the area where the hole is to ensure the culprit is removed.
Step 3: Patch the Problem
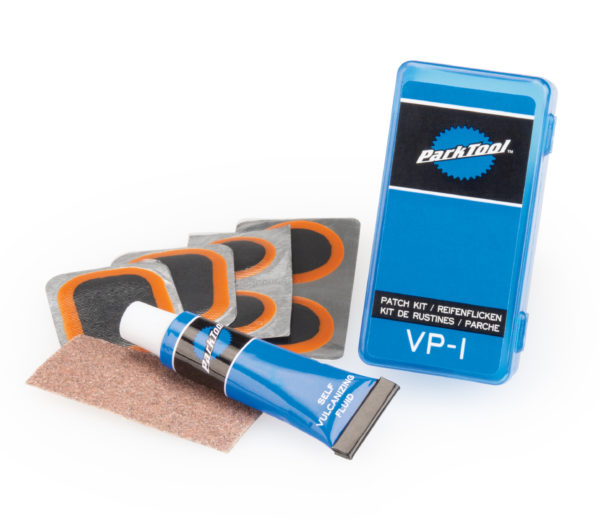
Start by cleaning the punctured area and roughing the surface with an emery cloth. For a glueless patch, simply stick it over the hole and press firmly. For a patch that requires glue, add a thin layer of glue to the tube and patch. Wait for the glue to get tacky, then apply the patch and press firmly until it adheres.

Katja Kircher//Getty Images
Step 4: Install the Tube
Check to make sure the tyre bead isn’t pinching the tube by gently pushing the tyre to the side as you work your way around the rim. Then inflate to the appropriate PSI and check that the bead is seated correctly.
Step 5: Reinstall the Wheel
If everything looks good, reattach your wheel, making sure the quick release or thru-axle lever is on the opposite side of your drivetrain.
If you had a rear-wheel flat, lay the top of the chain around the smallest cog on your cassette and carefully push the wheel back into the frame. Close your quick release (and rim brakes if applicable) or insert the thru-axle back into the frame and hub and thread it closed.
Finally, lift the rear wheel and spin your cranks once to make sure everything is back in place and operating smoothly. If all is good to go, get back on your bike and enjoy the rest of your ride.

Trevor Raab
How to Plug a Tubeless Tyre Instead
For tubeless setups—all but standard in mountain biking and becoming increasingly popular on gravel, cyclocross, and even some road bikes—your sealant should do the trick without you even realizing it. Be sure to check your sealant regularly (about every three to six months) to make sure the tyre has enough and that it hasn’t dried out.
But in the event of a bigger puncture or side-wall tear, you may need a tyre plug to stop air loss. Plug kits come with a small strip of rubber and an insertion device, which allow you to plug the hole without even removing the wheel. Once you find the puncture and insert the rubber plug, re-inflate your tyre to the appropriate pressure to see that it’s holding air. If so, start riding again, and check the repair every so often to make sure it’s holding fast. You could also add more sealant, but you’d need to carry a valve core removal tool and a small bottle of sealant.

Trevor Raab
READ MORE ON: bike repair flat tyre